This is a continuation of my review and notes as I work through Paul McGowan’s book, Audiophile’s Guide: The Stereo – Unlock the Secrets to Great Sound. Here’s a link to the start of this series. In this part, I’ll describe how I set up the grid, performed basic system checks, and got busy with basic tuning. If you’re following along at home, I’m starting on page 100 of the first edition, under the subheading, Setting Up Your Grid.
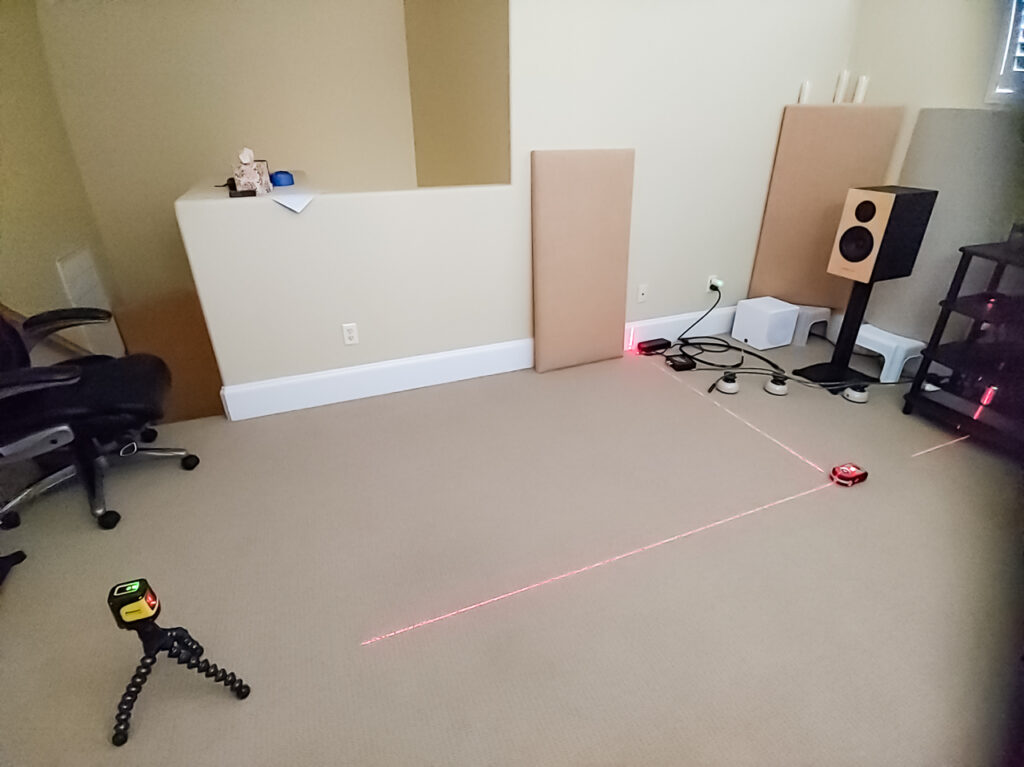
I’ve never had a listening room with perfectly square walls, so I’m using some inexpensive lasers to create a perfectly square “T” for my grid. I’ve found this far more accurate than measuring the distance from the rear wall, which can be off by nearly an inch in my room!

If you’re curious, the lasers I have are the Firecore F112R and Black & Decker Line Laser, Auto-Leveling With AnglePro (sadly, no longer available). Additionally, no audiophile should be without a laser distance measure like the Bosch GLM165-40. It’s useful for quickly measuring distances, but it can also be used to accurately set toe-in.
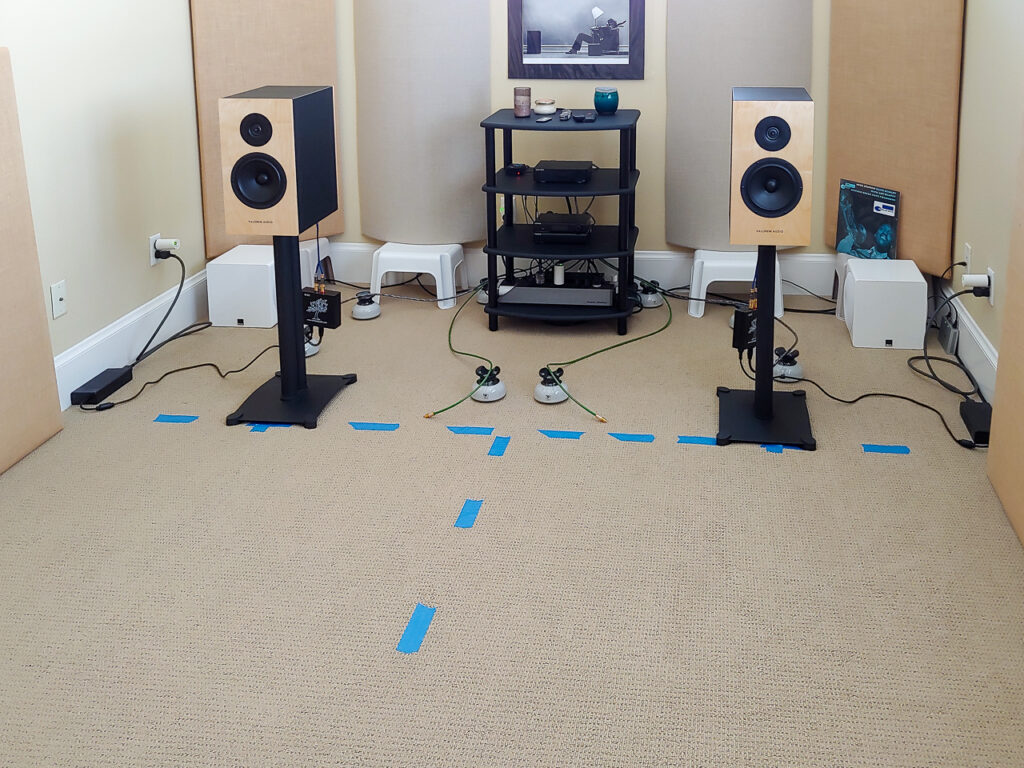
As Paul suggests, I’ve used blue painter’s tape to mark the room’s center-line and the top of the “T,” in my case by carefully placing the edge of the tape along the laser lines. Next, I pulled the speakers out from the wall so that the front baffles are directly above the tape lines and the center of the tweeters is 30 in from the side walls. As I mentioned in part 1, I started with the front of the speakers 4 ft 6 in from the rear wall. Paul suggests measuring speaker position from the rear outside edges, but this does not make sense to me since speakers come in all shapes and sizes. For consistency, I’ve always used the tweeter’s center as my reference between different speaker models. This is nothing to get too worried about as long as you are consistent with your system.

I’ve marked the initial speaker locations with pieces of tape on the floor at the midpoints. I have a little pencil mark on the stands to help me align them. I could have used one of the corners, but I thought a center mark would be better for keeping them aligned to the grid since I’ll be rotating the stands for toe-in.
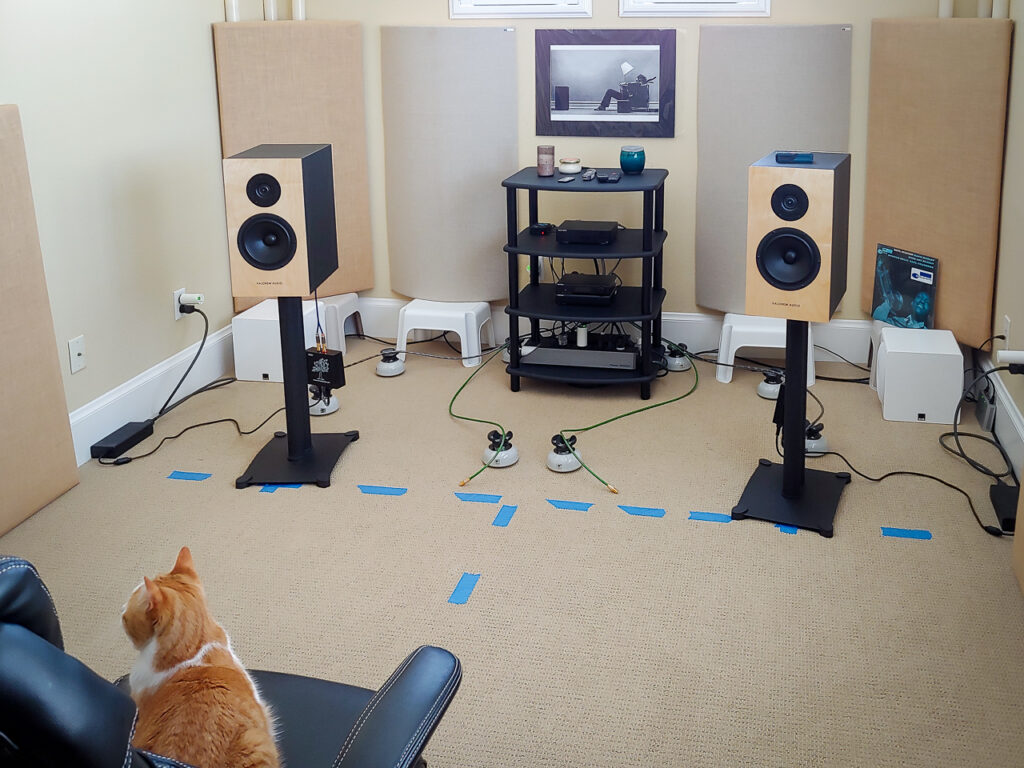
My initial ear-to-tweeter distance was 6 ft 2. With the chair in place, I set the toe-in by firing my distance measure from the center of the baffle above the tweeter and rotating the stands until I saw the red laser dot appear on the outside edge of the listening chair. After doing so, I re-checked the tweeter to wall distance and verified alignment to the grid. Note that the monoblocks are hanging from the speaker terminals in the photo below. Not something you see very often!

On page 106, under the heading, Getting Into Position, Paul walks us through the first six tracks on his Audiophile Guide’s Reference Disc to verify channels and phase. I know that the Orchard Audio monoblocks invert phase, so I have swapped positive and negative connections at the speaker’s terminals. The system passed the checks with flying colors.
The next step, Time to Get Boppin’, involves playing track 7, Chris Brunhaver running up and down the base scale. The goal here is to evaluate bass tone, attack, resonance, and evenness from different positions along the center line. Things sounded decent from the initial location, but the bottom notes were relatively weak. Gradually moving forward did not help, but moving back a foot and a half or so made a pretty big difference without harming the rest of the range. This new location has an ear to tweeter distance of 7 ft 4 in.
Moving on to evaluating The Center Image with tracks 9 and 10, the soundstage and vocals sounded a little congested. To solve this, I added another tape mark 4 in outside of the speakers’ current positions, moved them over, and re-set toe-in. The vocals lost some of their “flesh and bone” character in this new location, so I moved the speakers 4 in closer together, splitting the difference. Ah, that sounds right!

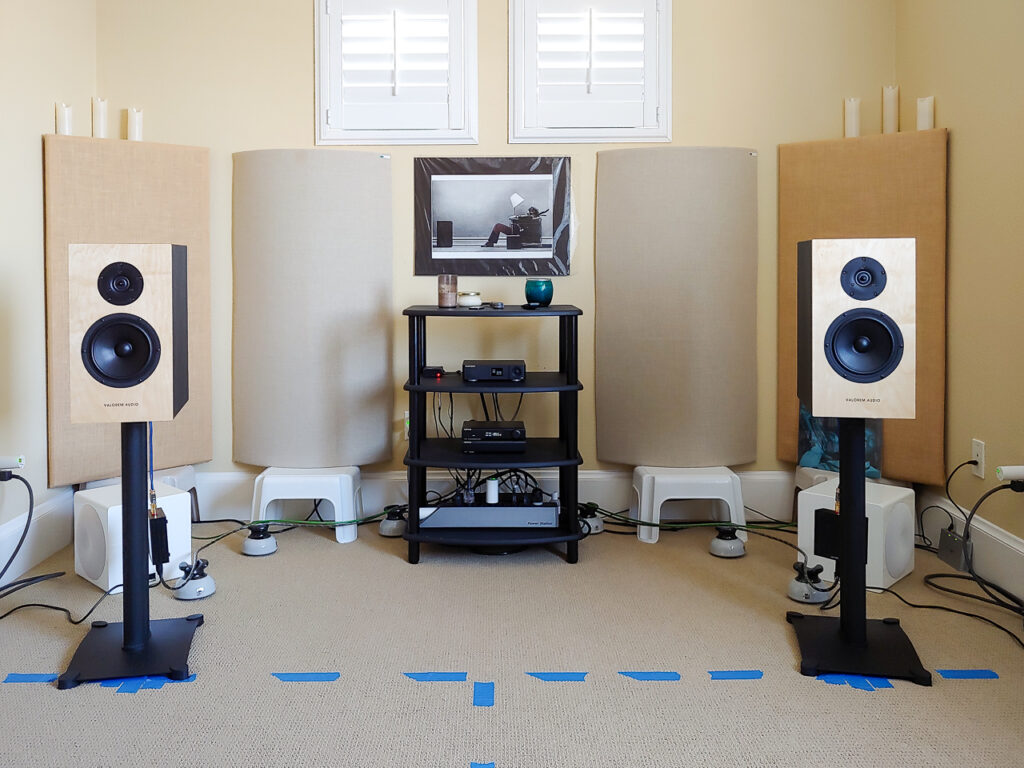
Making it Palpable, on page 111, is about achieving depth. For this, Paul directs us to repeat tracks 9 and 10 until we “find the perfect balance of center image specificity, realistic depth, and wide soundstage.” I was getting close, but the top end from the ring radiator tweeters was a little too assertive, bringing the image too far forward. To address this, I towed the speakers out a bit. I paced tape marks on the back wall a foot off of the centerline and rotated the speakers until the laser hit the marks. This was necessary because the toe-in angle exceeded the width of my chair.
Fine Tuning Depth involves listening to three tracks starting at number 11. These are recordings of a group of singers who are positioned progressively further from the microphone. The setup pictured above renders the singers in realistic space, with the latter two tracks sounding like they are coming from a point beyond the back wall. With the right volume setting, track 14 sounds about as lifelike as anything I’ve heard in this room.
There’s still much work to do, including integrating the SVS 3000 Micro subs, but with Paul’s help, I now have the room and system dialed in well enough to deliver engaging listening experiences. It’s hard to turn the system off. Until next time…I’ll be enjoying the music.